

In these times of social distancing, we thought it would be great to share some creative things we have done in our home life. One of those things being, creating at-home science experiments! Over the years we have done multiple science experiments at home, here are some of our latest that we’ve enjoyed!
1. PAN FLUTE

For our first experiment, we are going to be making a Pan Flute. The Pan Flute isn’t so much a science experiment, but more of a fun arts and crafts project! To actually complete the Pan Flute you are going to need 7 straws, a tape measure, a marker, tape, and a pair of scissors. So to start off you are going to take your first straw and measure down half of an inch and mark it with your handy sharpie. Then for the second you would measure down an inch, so each time you’re adding half an inch and marking as you go. Once you’ve marked all 7 straws, take your scissors and cut at every mark you made on the straws. Once each straw is cut you should have them all lined up next together having them gradually going down. Finally, you must tape the thicker side where nothing is cut off the pan flute so it can stay together. In conclusion, your amazing pan flute should be finished, all you have to do is just blow!
2. PENNY FLASHLIGHT

Making our way to the second experiment, we have the penny flashlight. Your material list is going to include a pair of scissors, a stir stick, sandpaper, paper towels, pennies dated after 1982, cardboard, an LED light, salt, water, and finally some vinegar. To start off we’re going to take our ½ cup of water, salt, and our mixing stick and we’re going to pour salt into the water while mixing it up until the salt does not dissolve into the water. If you think you’ve put enough salt in, you didn’t, put more in! Once you have your super salty mixture, add in a tsp. of vinegar and let it sit. While the mixture is sitting, take your cardboard and cut out 9 squares that are just a little bit smaller than your pennies, precisely ½ inch. Then, we are going to put the ½ inch squares into our salt water solution to let them soak. Now take all except for 1 of your pennies and sand off the copper on one side of the pennies so that the zinc is showing. Now let’s head back to our salty solution and grab our cardboard squares, we put the squares on our paper towel to dry for just a few minutes. To begin the actual test, we are going to take a sanded penny and put the un-sanded side facing down then take a piece of cardboard and put it on the sanded side of the penny. Then we are going to repeat the process, expect we’re stacking the pennies as we go. Once you got to your unsanded penny, you simply just put it on the top of the stack. Then you simply must put your LED light against the stack of pennies and you will get your connection!
3. LAVA LAMP

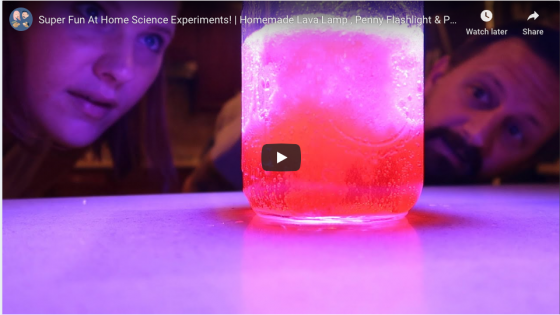
Finishing off with our final experiment, we are going to be creating a homemade lava lamp! The final materials you are going to need is food coloring, alka-seltzer tablets, 1 cup measuring-cup, a stir stick, a clear glass jar (mason jar), vegetable oil, and finally good old water. To start off we are going to pour 1 cup of water into our clear glass jar and put 3 drops of food coloring. Now that you have your colored water, add 1 cup of vegetable oil to your mixture and wait a minute or 2 to let it seperate. Then, take 1 alka-seltzer tablet and cut it into fourths and drop each into your mixture. Your lamp should be moving around inside like a volcano!
We thought it would be great to share some creative things we have done in our home life. One of those things being, creating at home science experiments! Over the years we have done multiple science experiments at home, and we have enjoyed it a lot. We had so much fun making a homemade lava lamp, penny flashlight, and a pan flute. We hope you can have as much as we did, ENJOY!